
First-Time Login and Setup
Complete the guided onboarding workflow to configure authentication, security settings, organization, and EHR connections
This guide will walk you through the initial setup process, from accessing your admin account to configuring the platform and inviting your team members.
Initial Admin Account Access
For new installations, the platform follows a secure onboarding process to set up your administrator account:
-
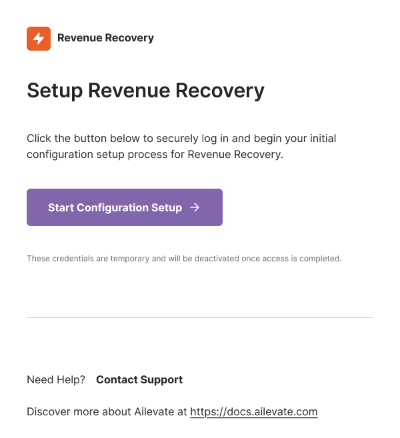
Welcome Email
- After your organization's platform is deployed, the system automatically sends a welcome email to your designated administrator email address
- This email contains a secure initial login link to begin the onboarding process
- The link does not expire and can be used to access the onboarding workflow at any time
-
Accessing the Platform
- Click the "Get Started" link in the welcome email
- The system will verify your access token
- Upon successful verification, you'll be directed to the onboarding workflow
- The initial login link is automatically deactivated once you complete the onboarding process
-
Post-Onboarding Access
- After completing onboarding, the initial login link becomes invalid
- You and all users must use the configured authentication method (such as Magic Link or Microsoft authentication) to access the platform
- If you attempt to use the deactivated initial login link, you'll receive a clear error message
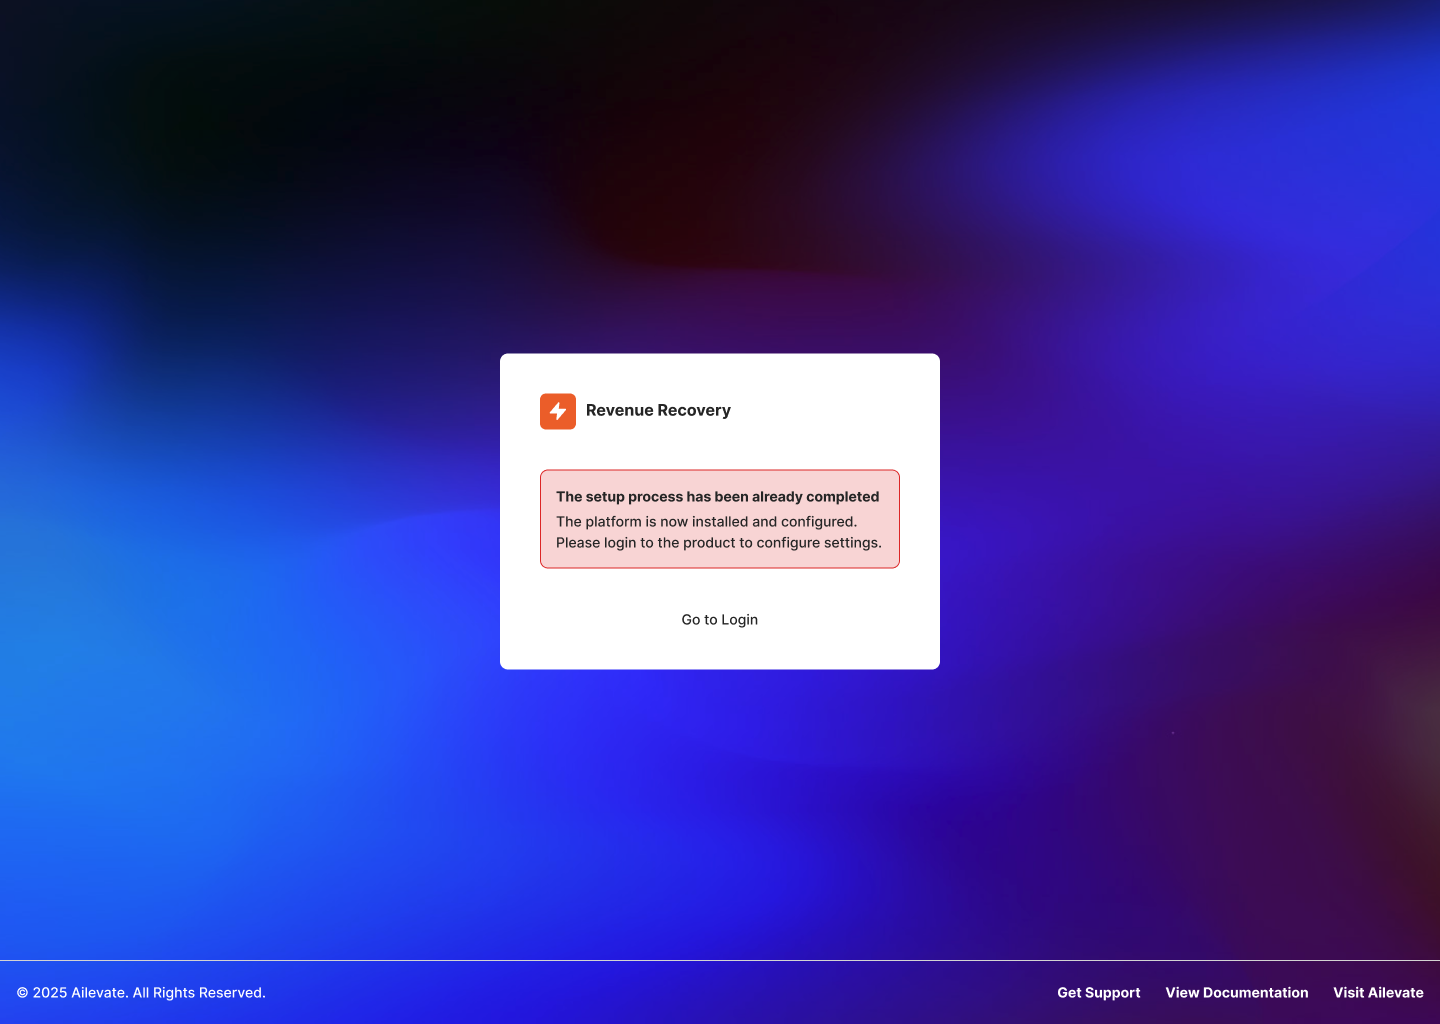
Note: The initial login link is only valid for the onboarding process. Once onboarding is complete, all users must authenticate using the configured authentication method. If you haven't received your welcome email, please contact your Ailevate representative.
Authentication Methods
During the onboarding process, you'll configure how users access the platform. The platform supports two authentication methods:
Microsoft Authentication (Recommended)
- Seamless integration with your organization's Microsoft Entra ID (formerly Azure AD)
- Single sign-on capabilities
- Enhanced security features
- Can be configured during Step 1 of the onboarding workflow
Email Authentication (Magic Link)
- Secure email-based authentication
- No password required
- Time-limited secure links sent to your email
- "Activate New Account" feature allows new users to receive access links
- Can be enabled during Step 1 of the onboarding workflow (optional)
Security Note: Authentication configuration is performed during the onboarding workflow. You can choose to enable Magic Link authentication or skip this step. Once onboarding is complete, the initial login link becomes deactivated, and all users must authenticate using the configured method(s).
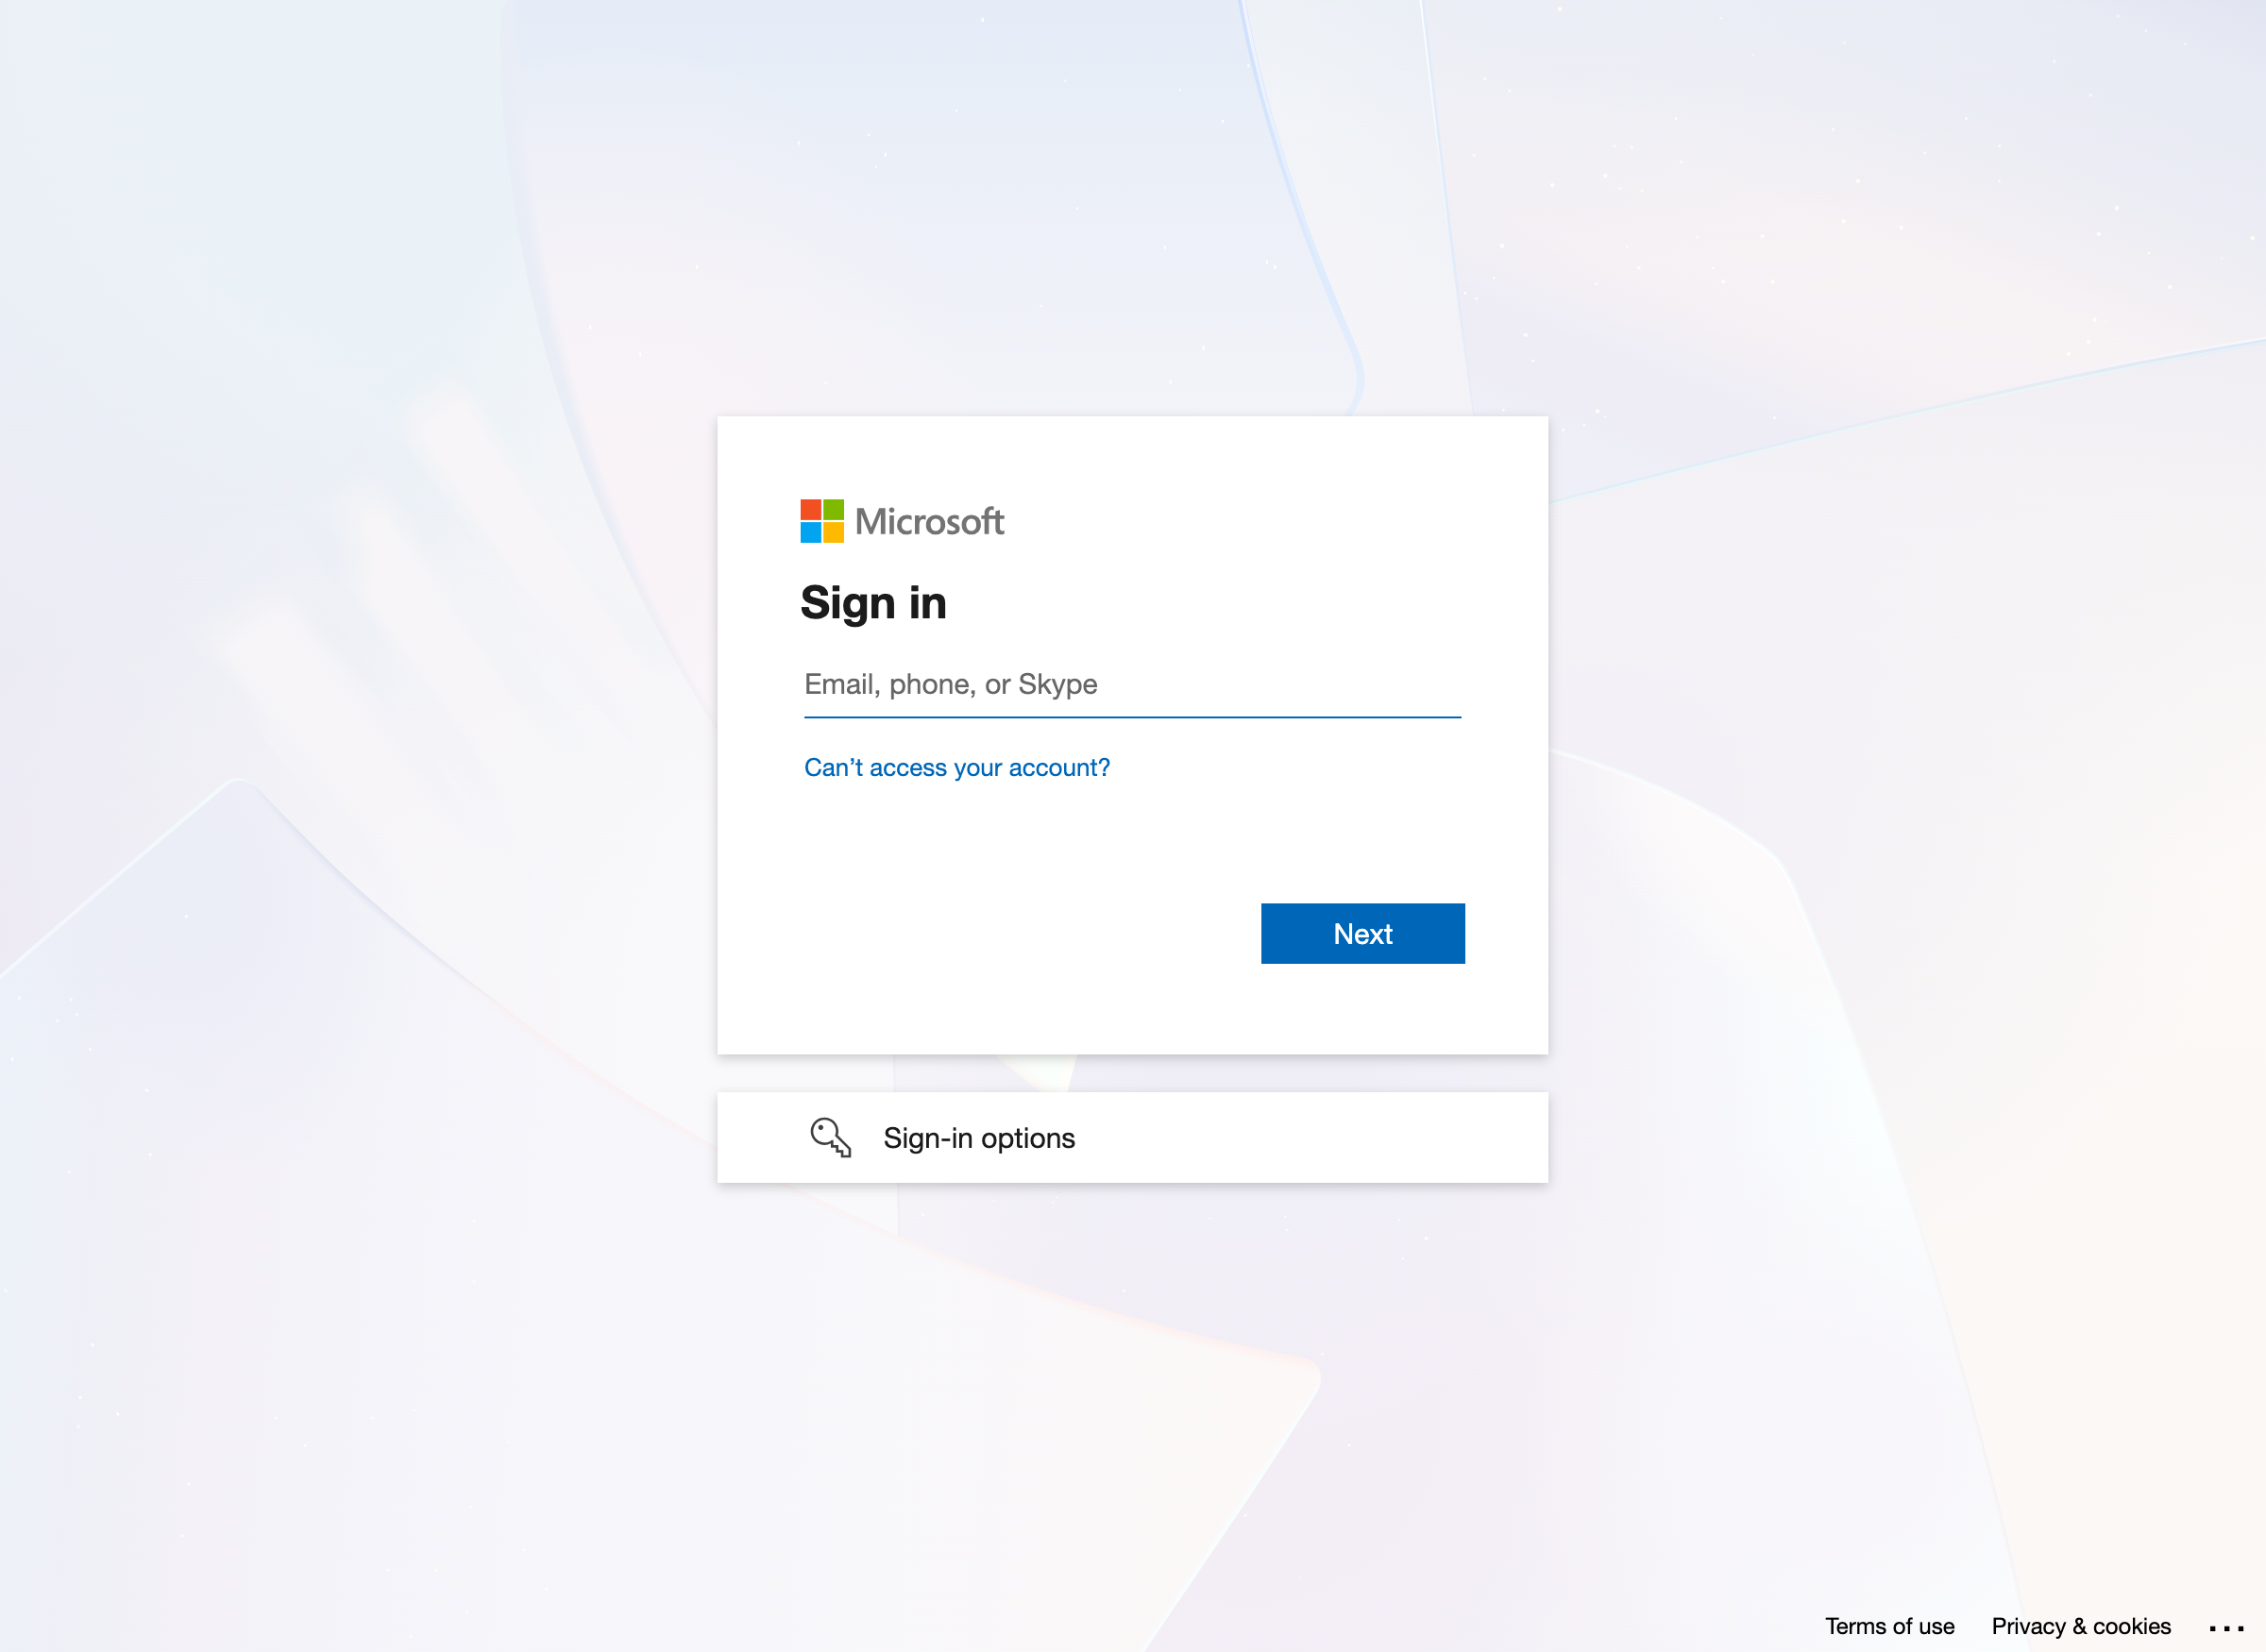
Authentication Interface
The platform provides a clean, user-friendly login interface with options for both Microsoft and Email authentication:
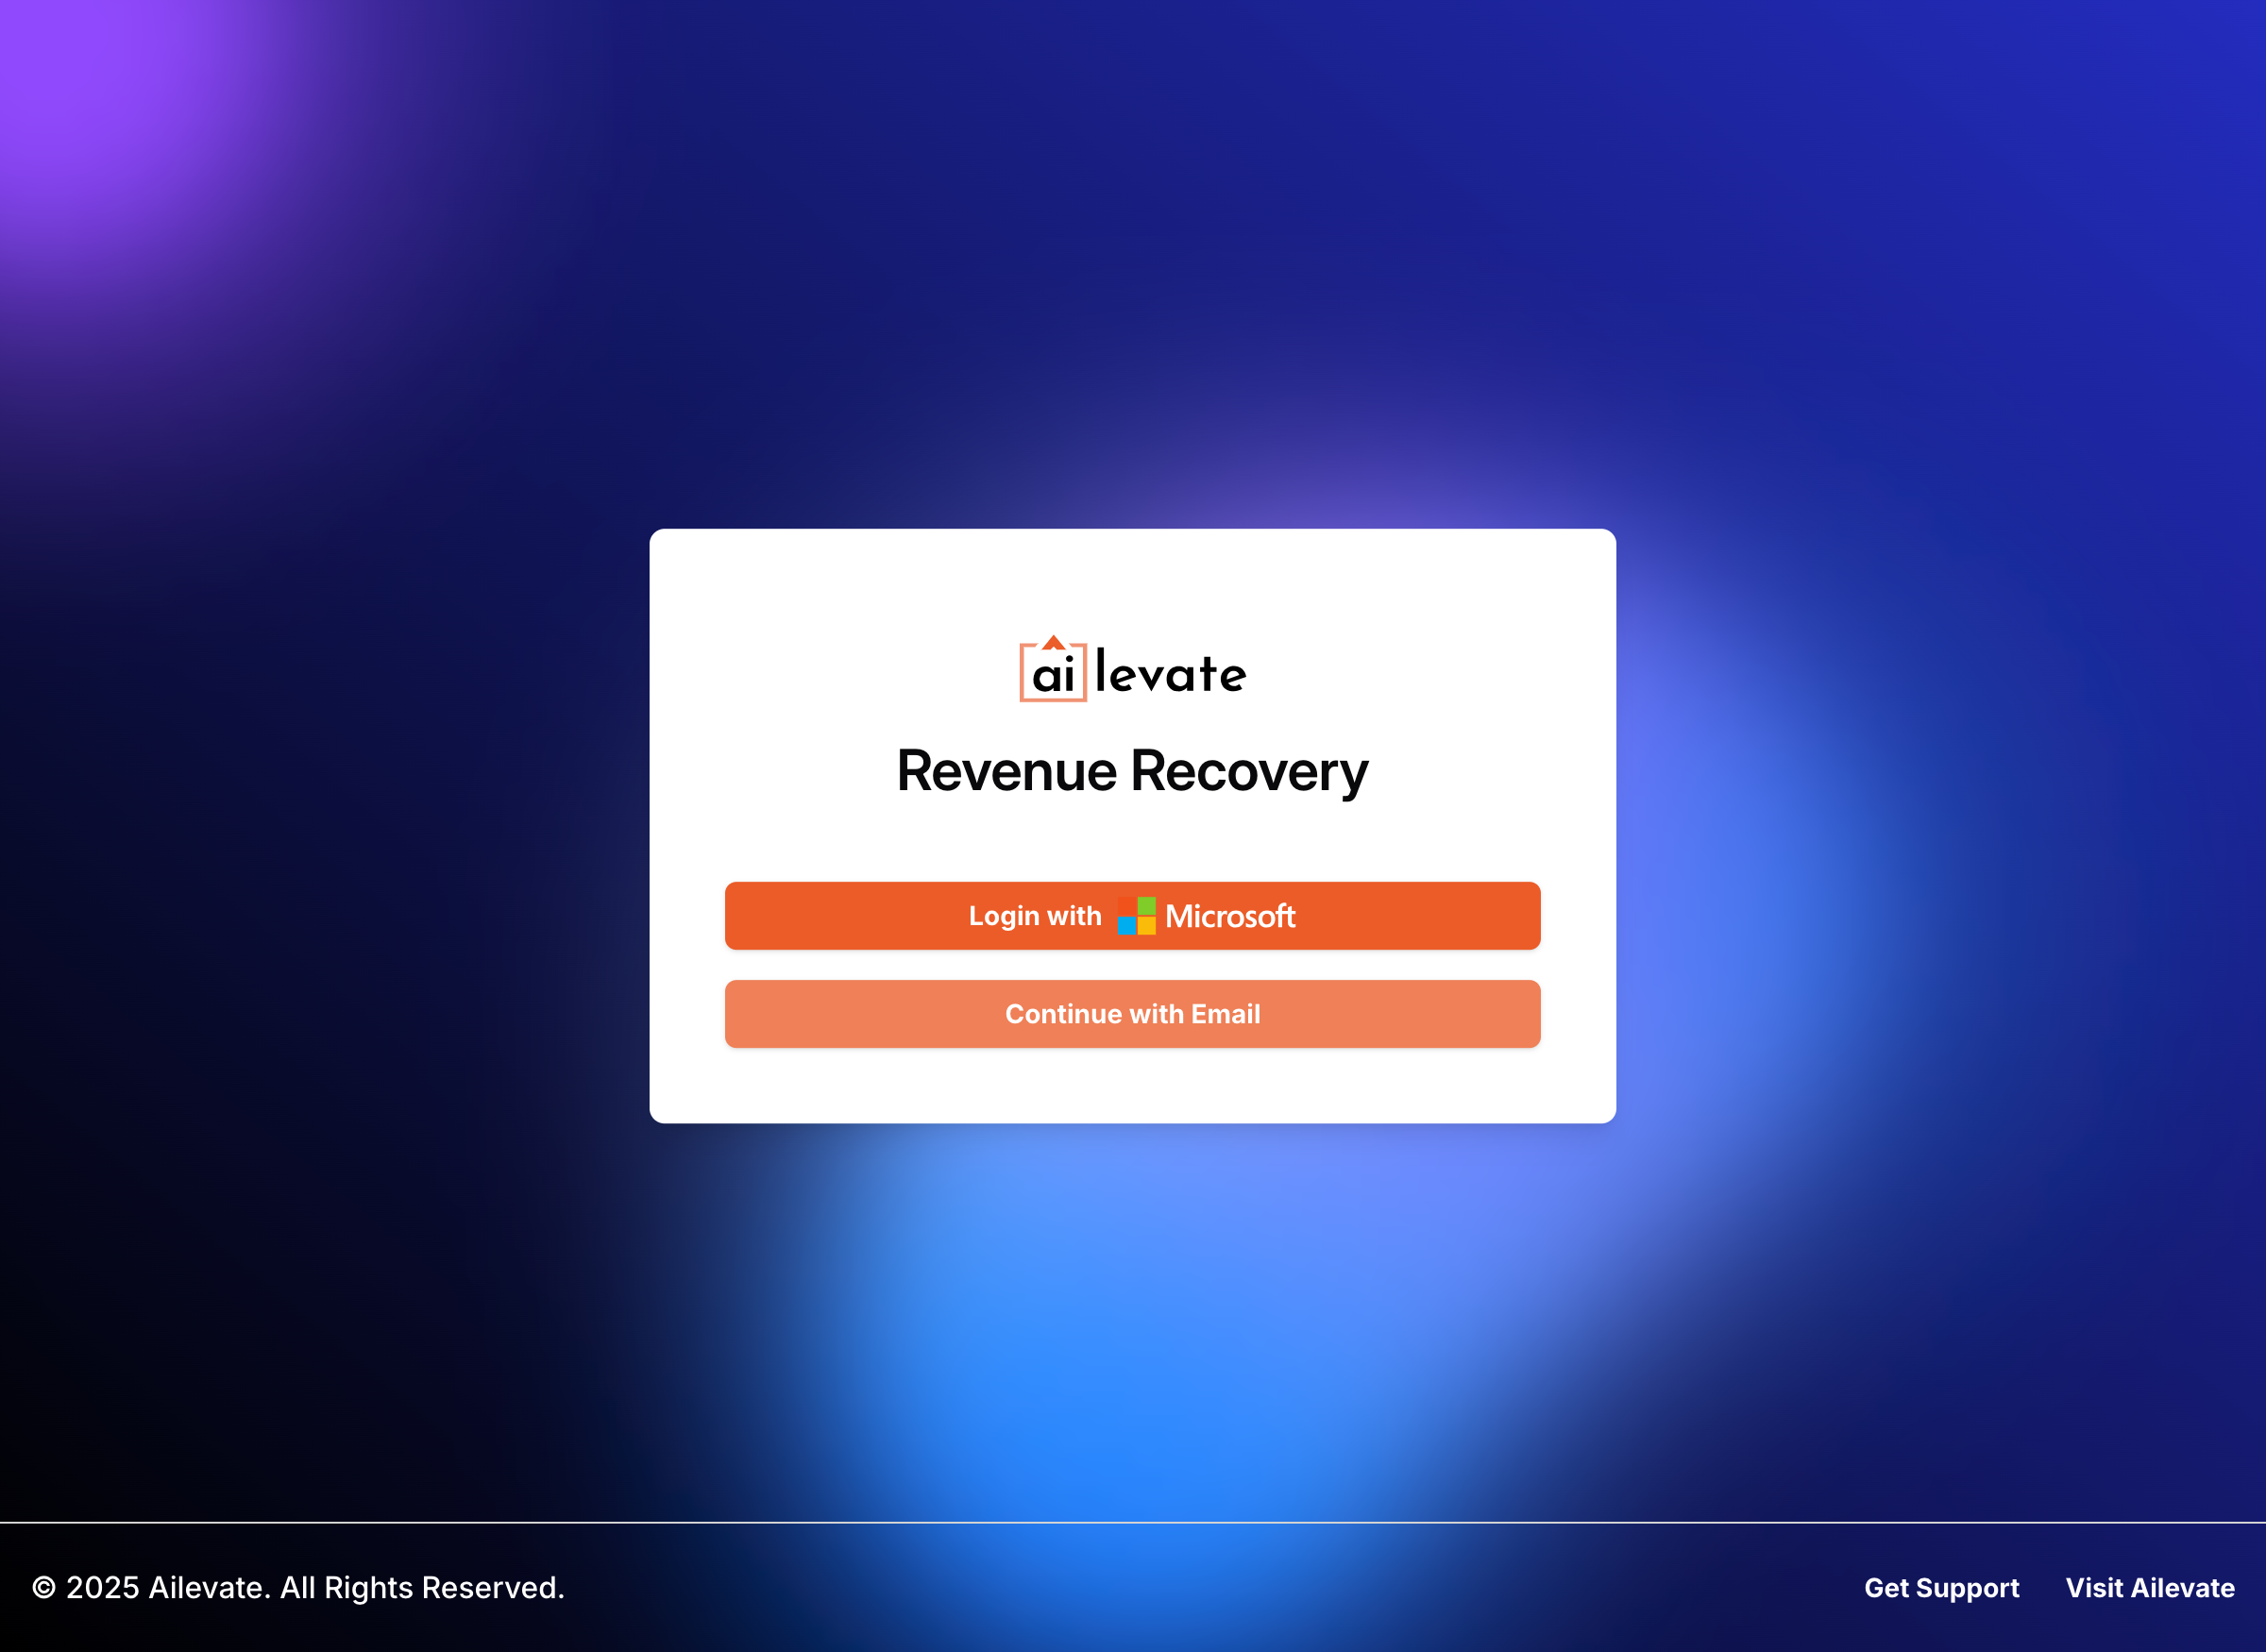
When selecting Microsoft authentication (recommended), you'll be redirected to Microsoft's secure login page:
When selecting email authentication, you'll be prompted to enter your email address:

A secure magic link will be sent to your email address. Click the link to complete the authentication process.
Initial Configuration
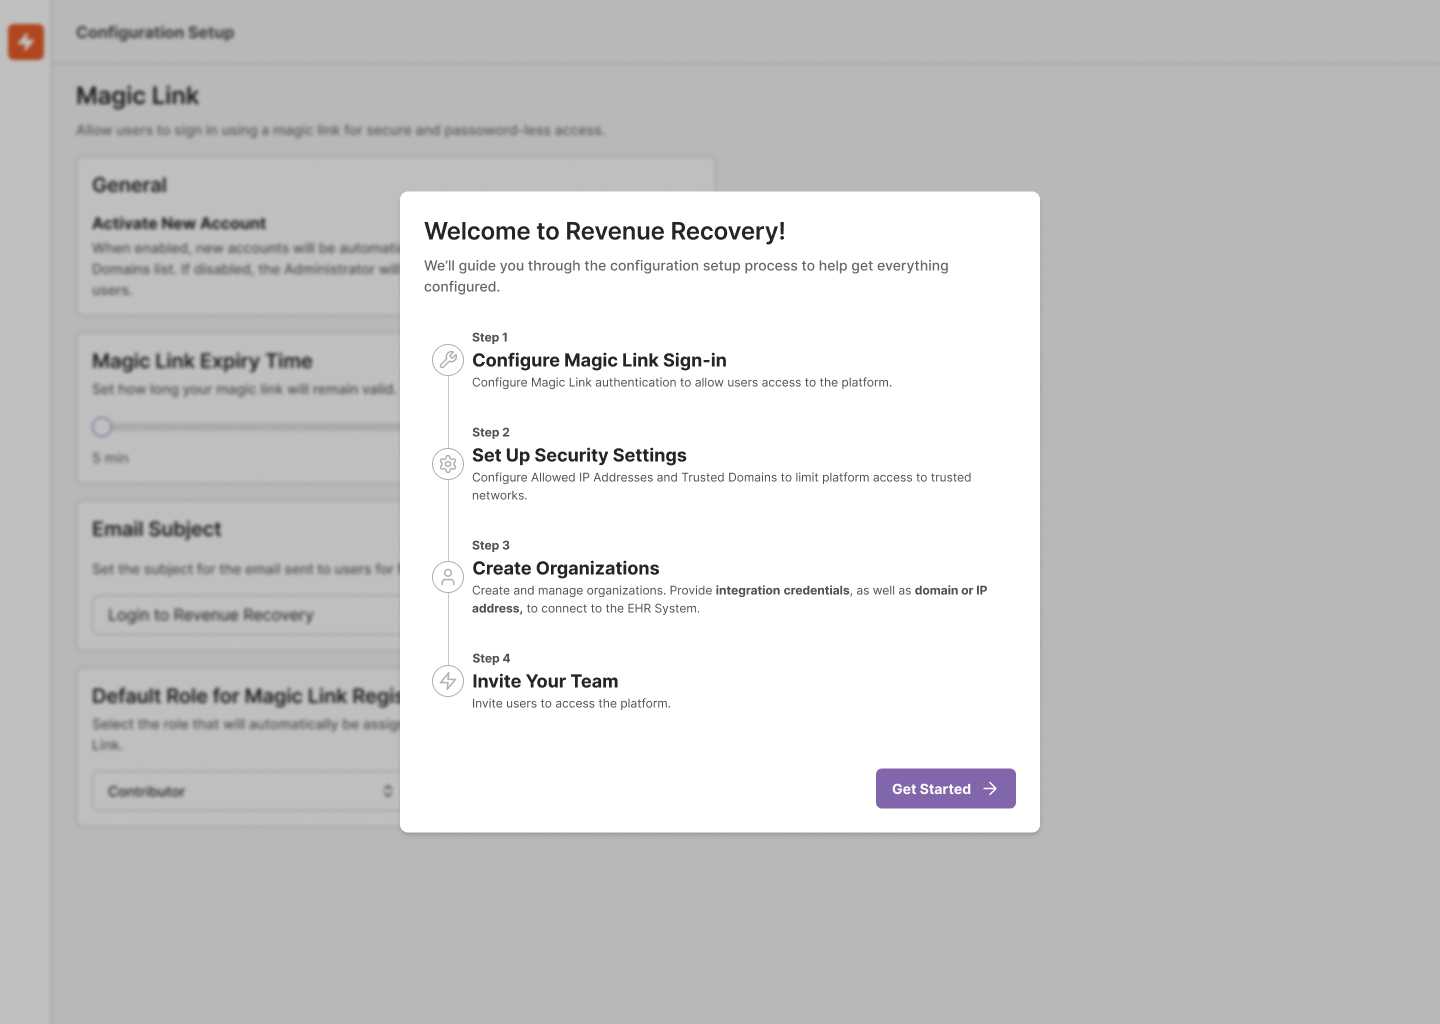
After accessing the platform using the initial login link from your welcome email, you'll be guided through the onboarding workflow. This process ensures all essential components are properly configured for your organization. The workflow provides step-by-step guidance with clear progress indicators showing your current step and overall completion.
Step 0: Datastore Configuration (On-Premise Only)
For on-premise deployments, the first step is connecting your Elasticsearch datastore. This step only appears when your platform is configured for on-premise deployment and is mandatory before proceeding.
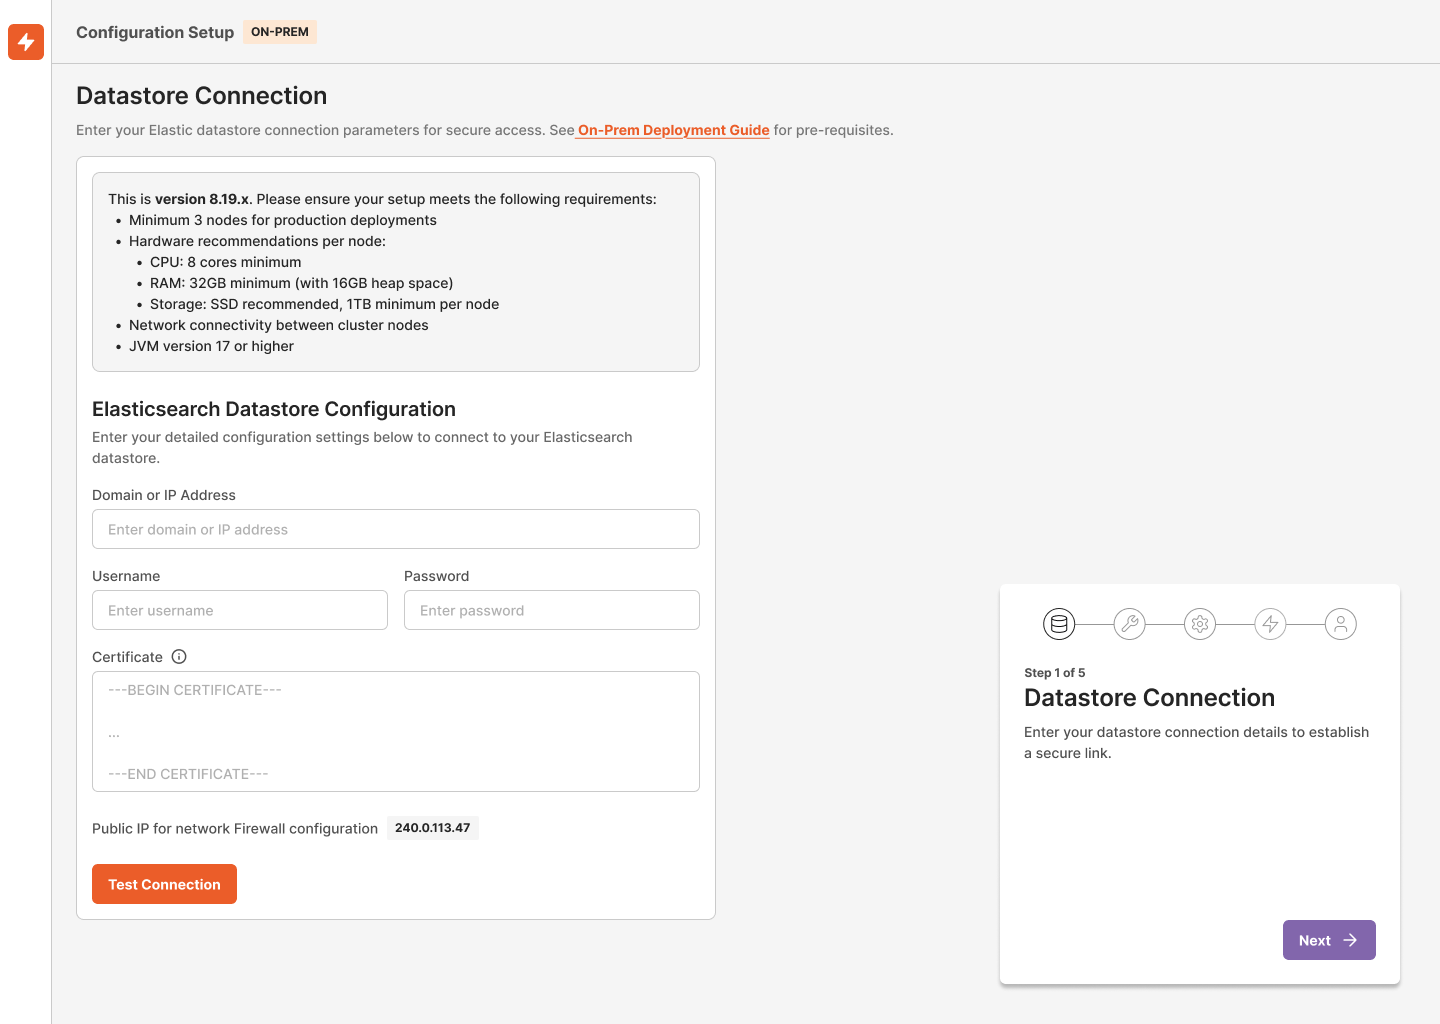
Datastore Connection Setup:
- Enter your Elasticsearch connection details:
- Protocol, Host/FQDN, and Port
- Service account credentials (username and password)
- TLS Certificate or CA Chain (can be pasted or uploaded)
- The system displays the AI Compute Layer's public IP address for firewall allowlisting
- Click "Test Connection" to validate:
- Network connectivity
- TLS handshake success
- Authentication credentials
- DNS resolution
- Datastore sizing against prerequisites
- The system prevents progress until validation succeeds
- Clear error states are displayed if validation fails (with specific details for TLS, authentication, DNS, or sizing issues)
- Inline links to the On-Prem Deployment Guide are provided for assistance
Once the connection is validated, the system initializes your environment by applying necessary data mappings and setting up initial data structures.
Note: If you're using the SaaS deployment option, this step is handled automatically by Ailevate and will not appear in your onboarding workflow. On-premise deployments will see an [ON-PREM] indicator in the header and onboarding modals.
Step 1: Authentication Configuration (Optional)
Configure your organization's authentication method. This step is optional and can be skipped.

Magic Link "Activate New Account" Configuration:
- Choose whether to enable the Magic Link "Activate New Account" sign-in method
- If enabled, you can configure:
- Email subject line and message content (customizable)
- Link expiry time settings
- The standard "Sign-in" capability is enabled by default in the backend (hidden from the UI)
Note: You can skip this step and configure authentication later. However, if you plan to invite users during onboarding (Step 4), you'll need to enable "Activate New Account" for them to access the platform.
Step 2: Security Settings (Optional)
Enhance platform security by configuring access controls. This step is optional and can be skipped.
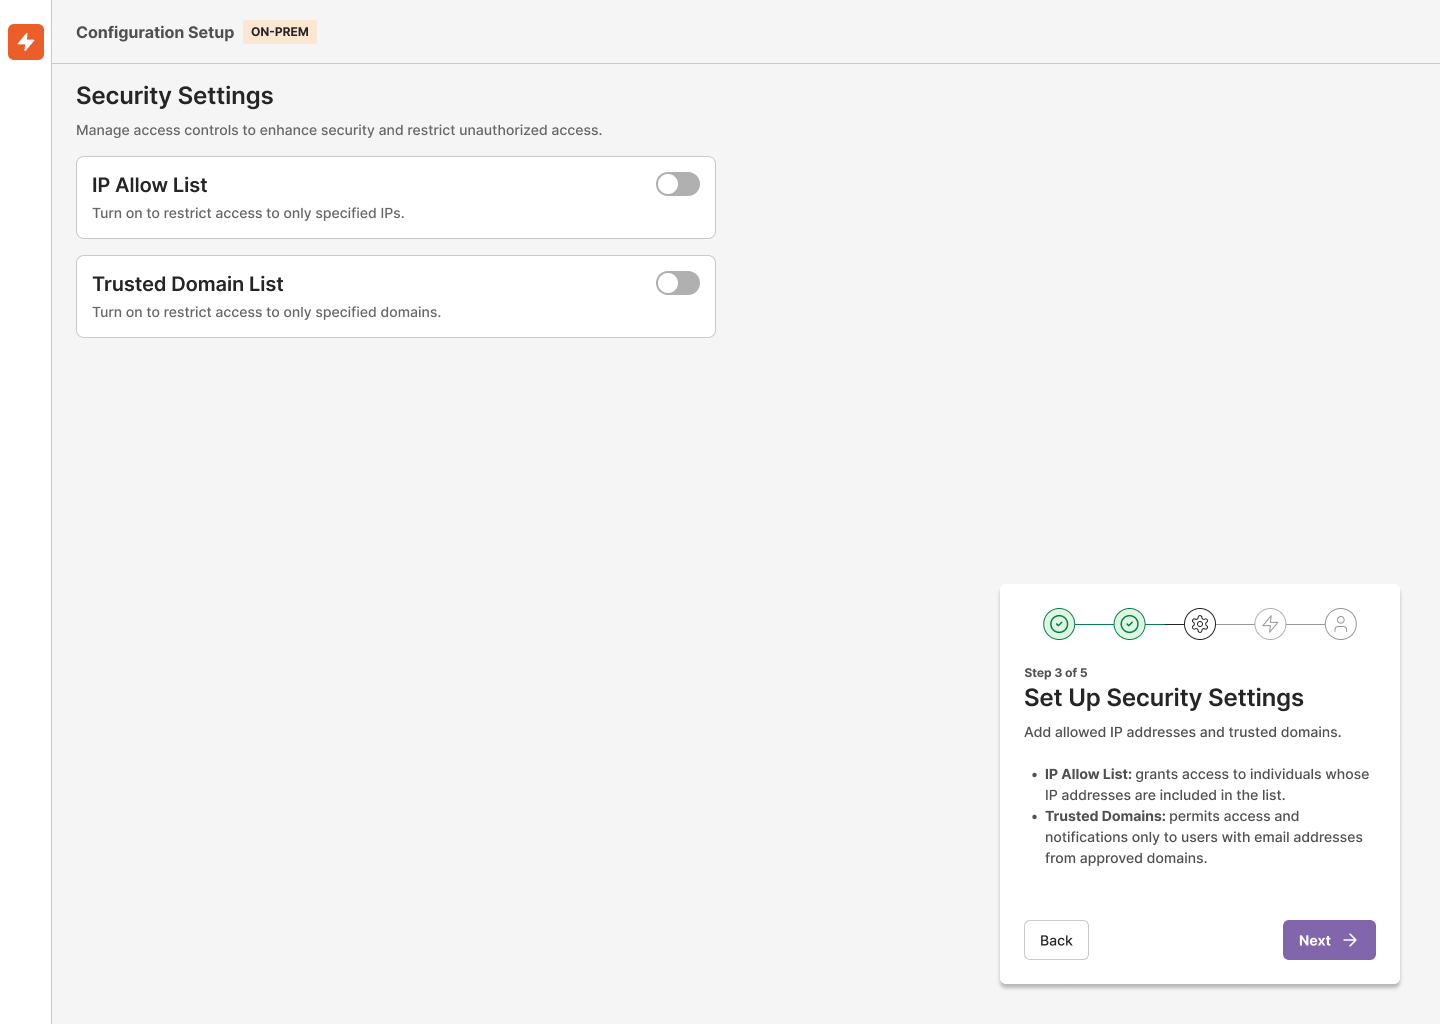
Security Configuration Options:
- IP Allow List: Add allowed IP addresses that can access the platform
- Trusted Domains: Specify trusted email domains for user access
- Security settings are validated before being saved
If you choose to skip this step, a warning message will be displayed to confirm your decision.
Tip: While optional, configuring security settings during onboarding helps establish a secure foundation for your platform from the start.
Step 3: Create Organization and Connect EHR (Required)
This is a mandatory step that establishes your organizational structure and integrates with your EHR system.
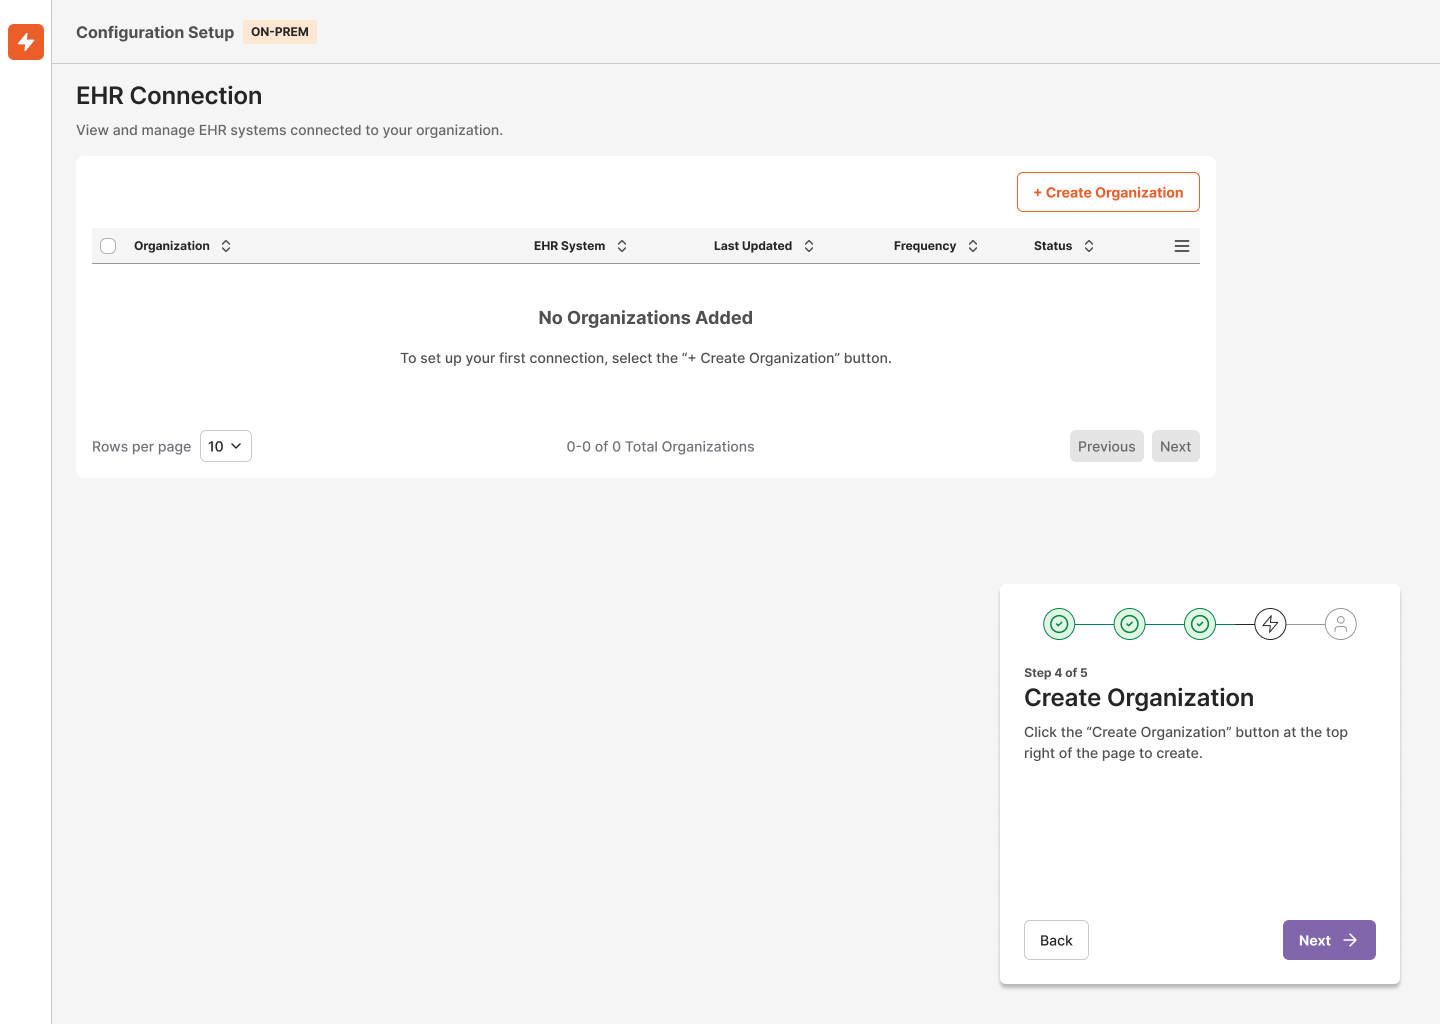
Organization Creation:
- Click through to the organization creation form
- Fill in your organization details:
- Organization name
- Contact information
- Timezone and regional settings
- Default preferences
- The organization must be created before completing the onboarding process
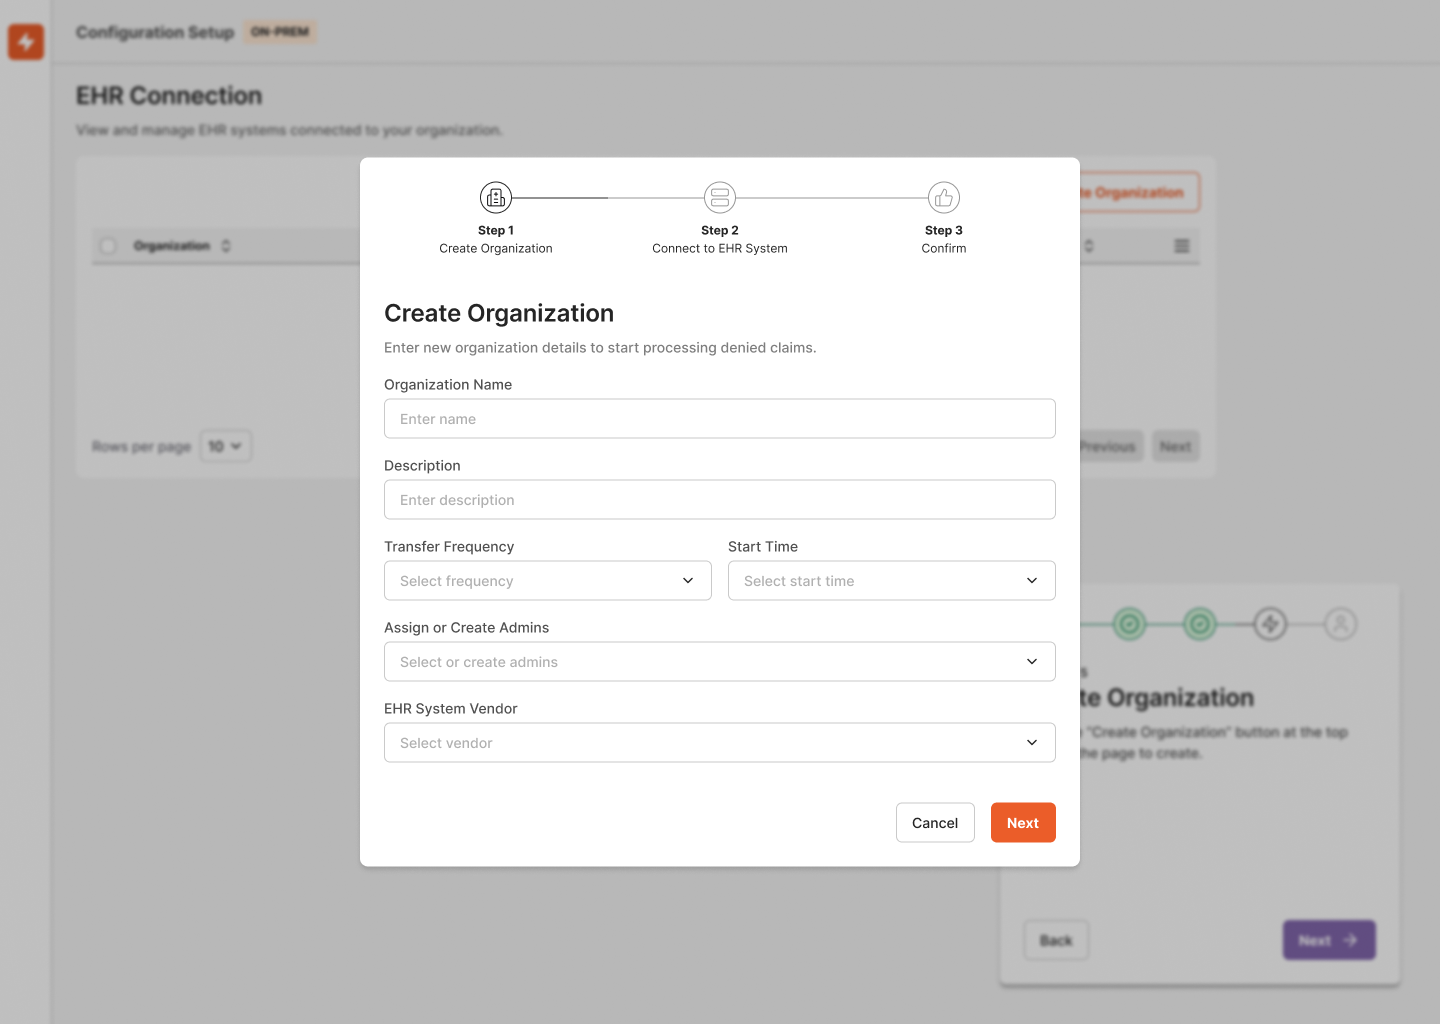
EHR Connection Setup:
- Configure your EHR data source settings within the organization creation process
- Establish secure connections to your EHR system
- Click "Test Connection" to validate the EHR integration
- The system requires a successful connection test before allowing you to proceed
- Clear success or error messages are displayed during validation
- If connection issues persist, a "Contact Support" button is available for assistance
The system integrates with the existing organization creation and EHR connection processes, providing a seamless configuration experience.
Important: This step cannot be skipped. An organization and successful EHR connection are required for the platform to function properly. If you encounter persistent connection issues, please contact [email protected].
Step 4: Inviting Team Members (Optional)
During the onboarding workflow, you have the option to invite team members to join your organization. This step is optional and can be skipped if you prefer to add users later.
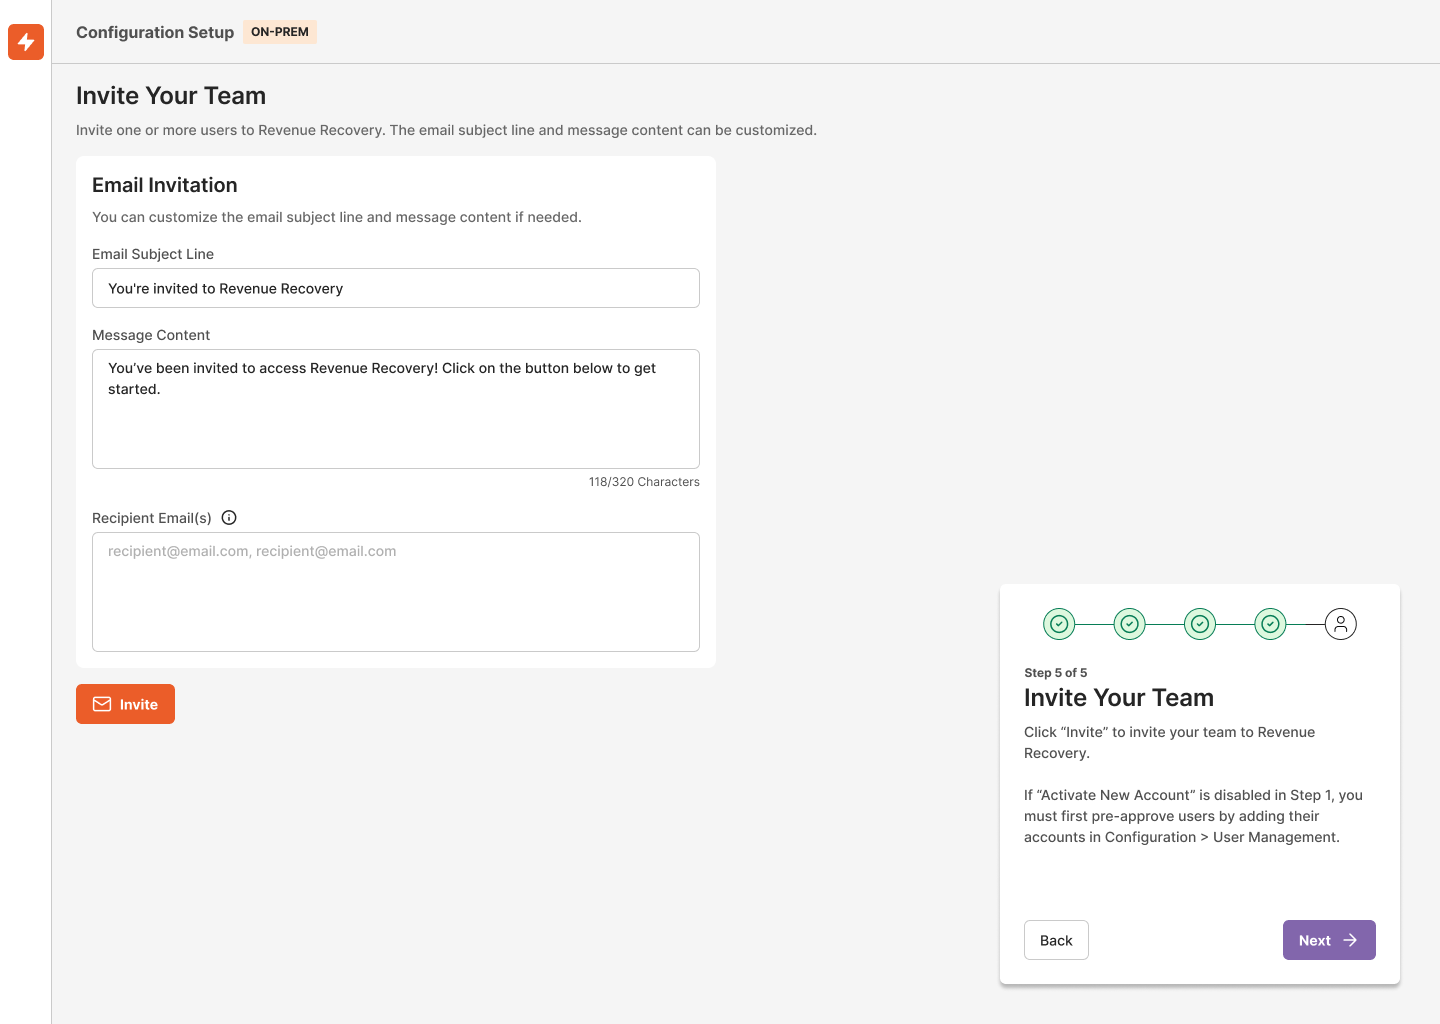
Inviting Users During Onboarding
The onboarding workflow includes a dedicated step for inviting users:
- In Step 4 of the onboarding process, you can enter email addresses for team members you want to invite
- You can add as many email addresses as needed
- Users will receive an email notification with:
- A welcome message
- Direct link to the platform
- Instructions for accessing their account
- You can customize the invitation email:
- Subject line
- Message content
- A preview shows the final email appearance
- If you skip this step, you can add users later from the Configuration section
Important: If you plan to invite users during onboarding, ensure you've enabled Magic Link "Activate New Account" in Step 1. Without this authentication method enabled, invited users will not be able to access the platform.
Adding Users After Onboarding
Once your initial setup is complete, you can add new users at any time from the Configuration section. The platform provides a straightforward process for adding new users and managing their roles.
Adding New Users:
- Navigate to Configuration > User Management > Accounts
- Click the "Add User" button in the top right corner
- In the "Add a User" dialog:
- Enter the user's email address
- Select their role from the dropdown (Administrator, Contributor, or Viewer)
- Click "Add User" to send the invitation
User Roles and Permissions
The platform offers three primary roles:
- Administrator: Full access to all features, including user management and system configuration
- Contributor: Can work with claims and access most operational features
- Viewer: Read-only access to view claims and reports
Managing Existing Users
From the Accounts page, you can:
- Filter users by email or authentication type
- View user login history
- Edit user roles
- Enable or disable user accounts
- Manage authentication methods (Microsoft or Magic Link)
Note: Users will receive an email invitation with instructions to set up their account. They can authenticate using the configured authentication method based on your organization's settings.
First Steps and Tips
To help you get started with the platform, here are some essential first actions to take:
Accessing the Dashboard
The dashboard is your central hub for monitoring revenue recovery performance:
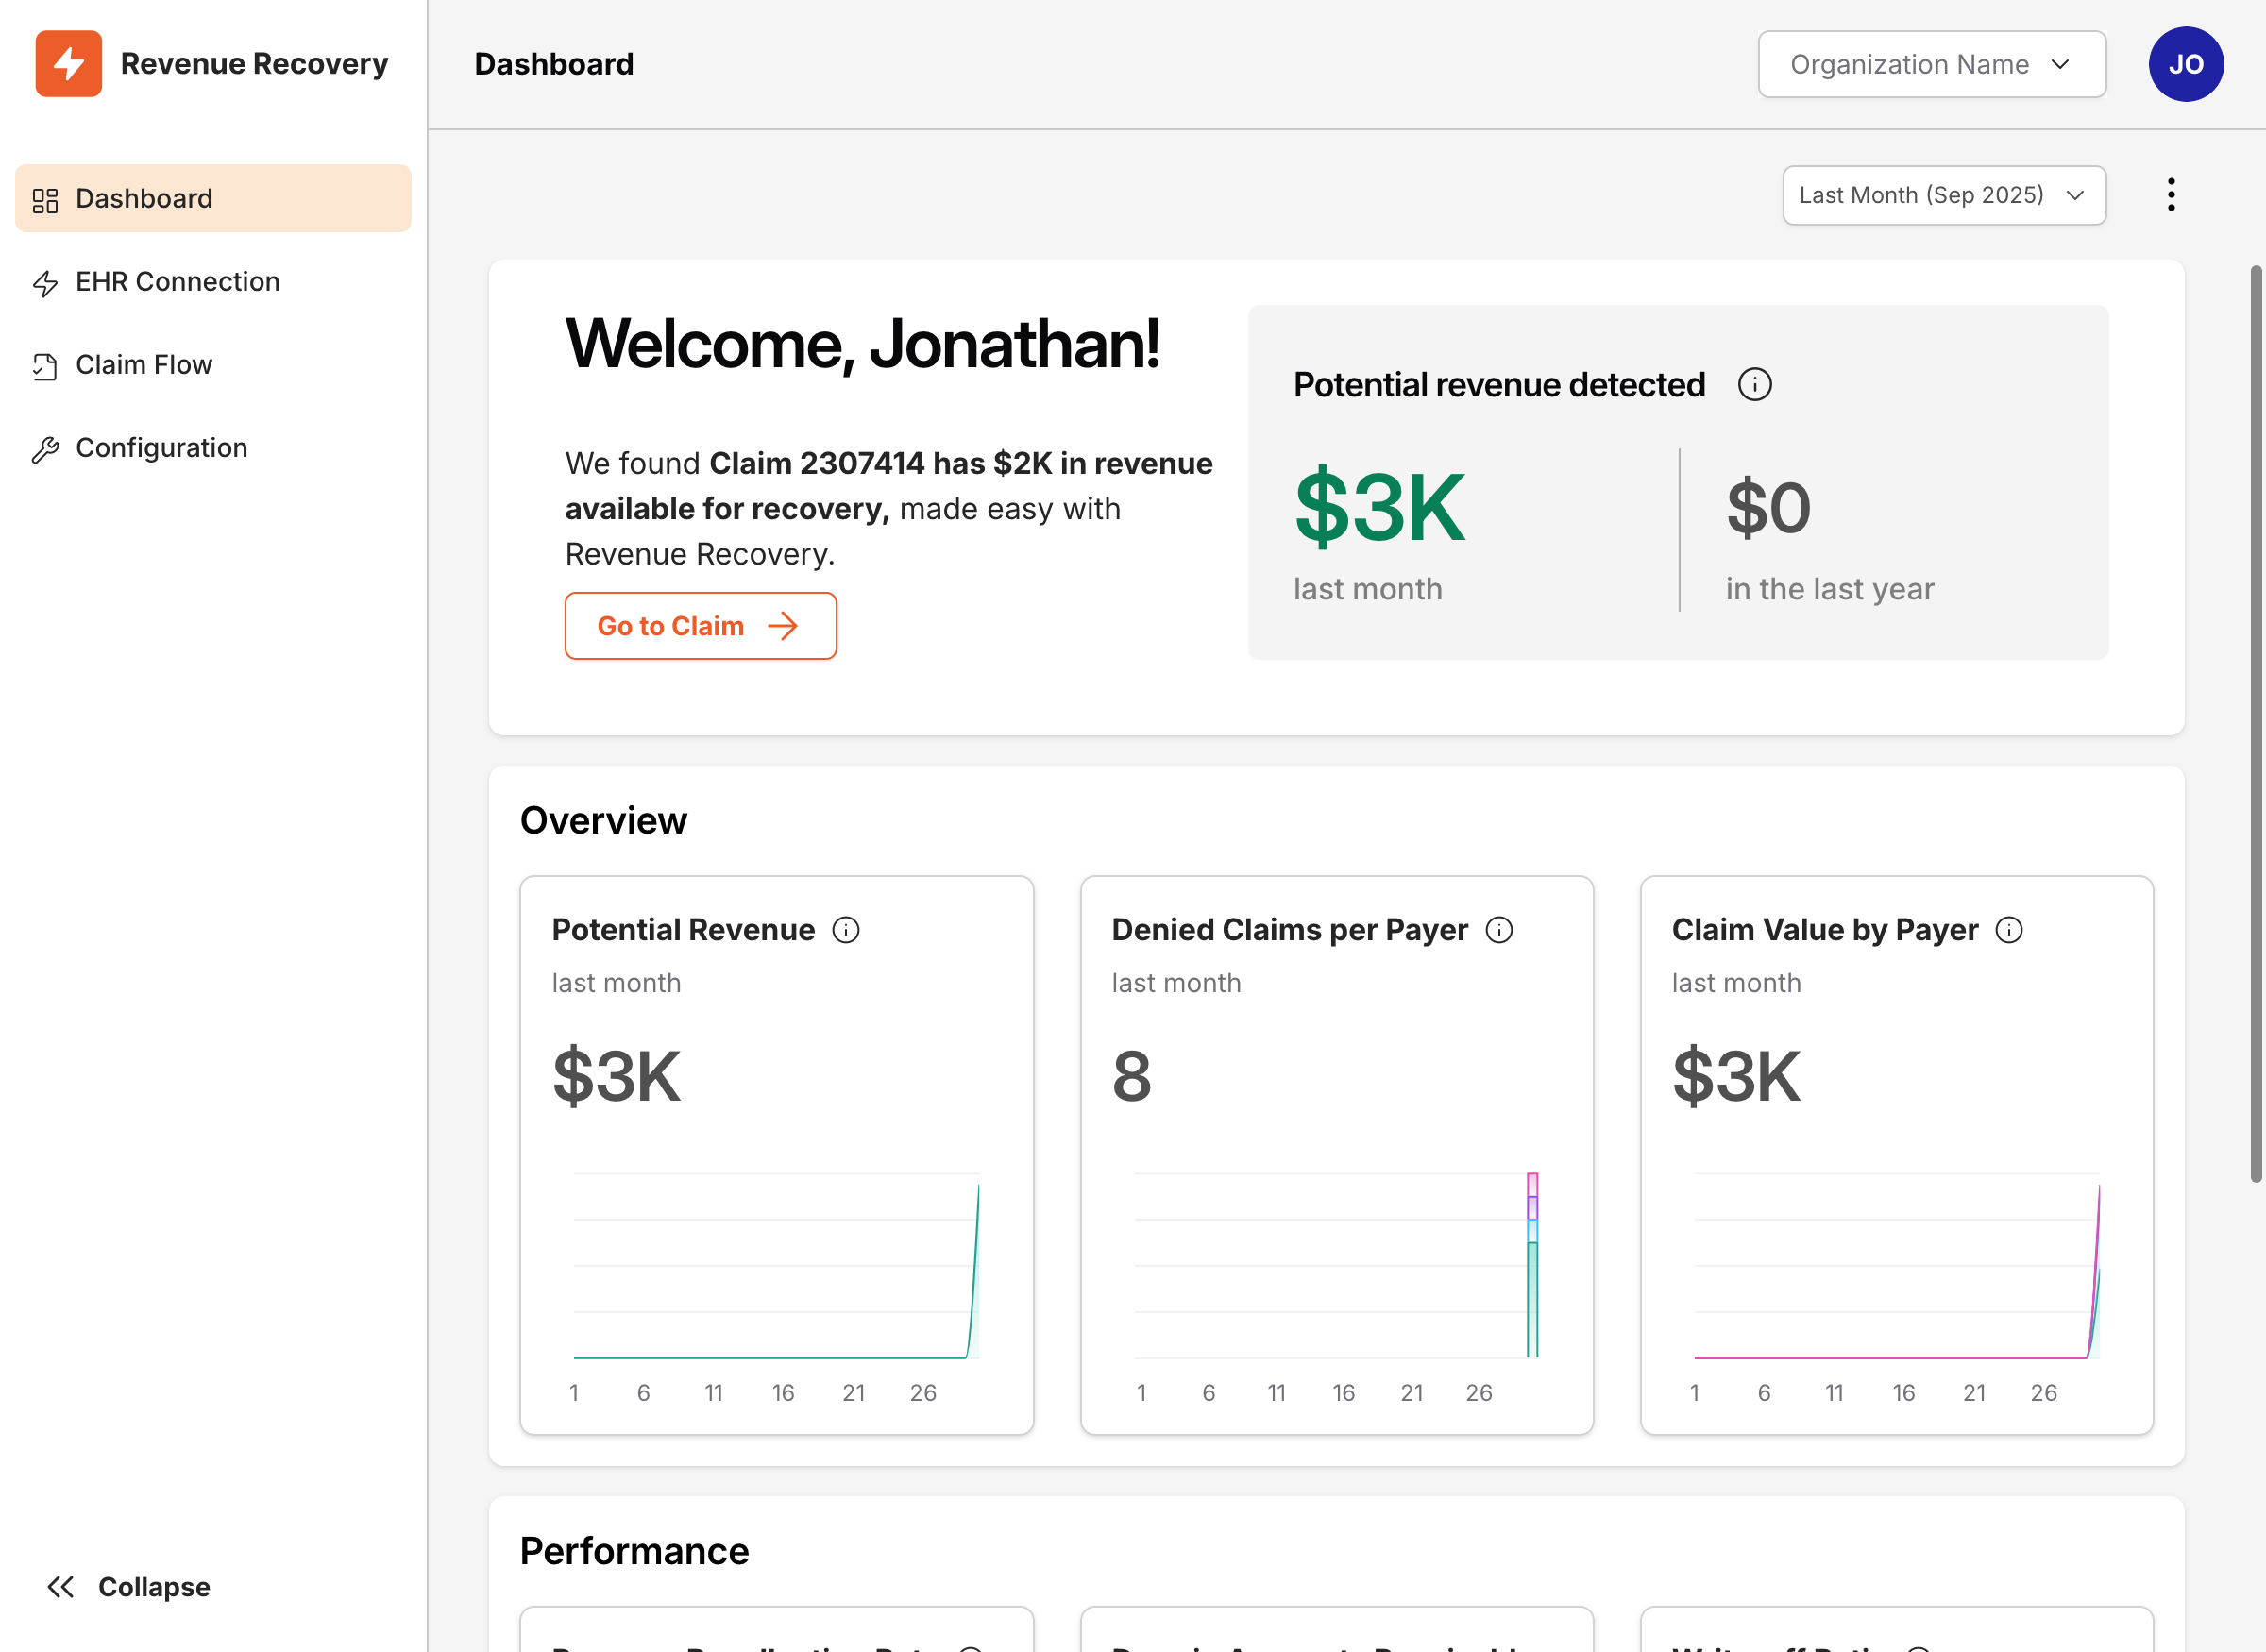
Here's what you'll find on the dashboard:
-
Welcome Section
- Personalized welcome message
- Quick insights about high-priority claims
- Direct links to claims requiring immediate attention
-
Overview Section
- Potential Revenue: Track recoverable revenue from unresolved denials
- Denied Claims per Payer: Analyze denial patterns by insurance provider
- Claim Value by Payer: Monitor financial impact by payer
-
Performance Metrics
- Revenue Recollection Rate: Track successful recovery percentages
- Days in Accounts Receivable: Monitor claim resolution efficiency
- Write-off Ratio: Track uncollectible claims percentage
Date Range Controls
- Use the date range selector in the top left to adjust the time period for all metrics
- Default view shows data from the last month
- Historical data available for trend analysis
Best Practices for New Users
-
Initial Setup
- Complete your organization profile
- Set up EHR connections
- Configure authentication preferences
-
Team Onboarding
- Start with a small core team
- Assign appropriate roles based on responsibilities
- Schedule training sessions for new users
-
Daily Operations
- Monitor the dashboard for new high-value opportunities
- Review denial patterns to identify systemic issues
- Track performance metrics to measure improvement
Next Steps
After completing the initial setup and inviting your team members, you may want to:
- Review and optimize claim workflows
- Explore advanced analytics and reporting features
Pro Tip: Keep the dashboard open in a dedicated tab for easy monitoring throughout your day. Use the insights to prioritize your team's focus on high-impact opportunities.
Updated 9 months ago